Mount Rainier National Park – The Wonderland Trail
Mount Rainier is an absolute must-see U.S. national park. Surprisingly, it’s not as well-known as some other U.S. parks, but it should be! The towering volcano, lush landscapes, and breathtaking views will have you hooked on multiday backpacking in no time. In fact, if you’re new to this type of adventure, the Wonderland Trail is perfect for you. The routes are very well marked, the campsites are equipped with all the basic necessities, and they’re spaced closely enough that you can take the trail at your own pace. This makes it an accessible and stress-free experience for first-time backpackers.
Originally, we had planned to hike the Northern Cascades, but last-minute wildfires altered our plans, and we managed to secure tent bookings for the Wonderland Trail. Whether you’re stopping off for day hikes or planning a multiday backpacking trip, here are some points to highlight for your trip to Mount Rainier.
Travel Tips
Flying into Seattle
Most travelers fly into Seattle and rent a car to drive to the park. Seattle’s international airport makes it easy to find affordable flights. From there, it’s a scenic drive to Mount Rainier.
Traveling from Canada
Since I was traveling from Canada, I drove down from Vancouver, which was a fantastic road trip. Alternatively, you can take the train from Vancouver to Seattle before renting a car for the drive to the park.
Mount Rainier: The Wonderland Trail Experience
We booked a section of the Wonderland Trail last minute, and it’s important to always check wildfire activity before your trip. Wildfires can spread rapidly, affecting air quality and safety on your route. In our case, we had to change our plans of hiking in the Northern Cascades due to a big wildfire, and the smoke still reached Mount Rainier. That said, don’t let it deter you from going—just be aware and prepare. Always bring a camp stove, as fire bans are common when wildfire risks are high.
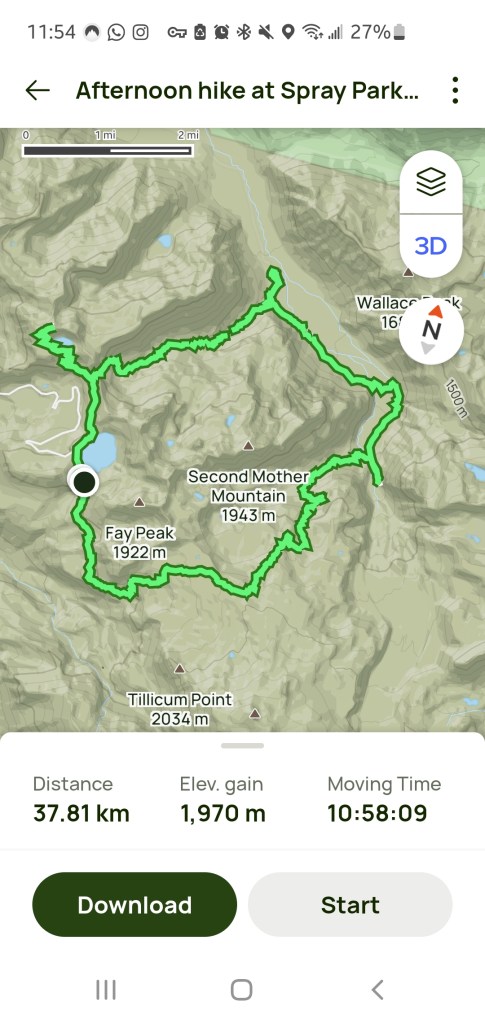
Our group hiked for four days and three nights. Not everyone had prior backcountry camping experience, but the trail was well-marked, and the campsites were easy to find and comfortably spaced. It’s the perfect choice if you’re new to multiday backpacking.
Campgrounds
These are the campgrounds we stayed at during our hike:
- Mowich Lake Campground
A great starting point with free camping (first-come, first-served). Arrive early to secure a spot, as it can fill up quickly. - Ipsut Creek Campground
A scenic and shaded campground that provides easy access to several trails. This is an excellent place to rest after a day of hiking. - Carbon River Campground
Nestled along the river, this campground offers beautiful views and is close to the Carbon Glacier area. - Cataract Campground
Another picturesque site along the trail, Cataract Campground is well-equipped and offers a peaceful setting to relax and recharge.
You can book all the campsites for Mount Rainier through the National Park Service website: Recreation.gov. It’s essential to pick up your permit before starting your hike. The permit can be collected at White River Campground, which is about a 30-minute drive from Mowich Lake. Be sure to check the opening and closing times for permit pickup, as we had our permits checked halfway through the trail, so make sure to keep it accessible during your hike.
All of these campgrounds are quite similar on this loop, so I recommend deciding which to stay at based on availability and proximity to your planned hikes.
Highlights of the Hiking Route
Mowich Lake Campground
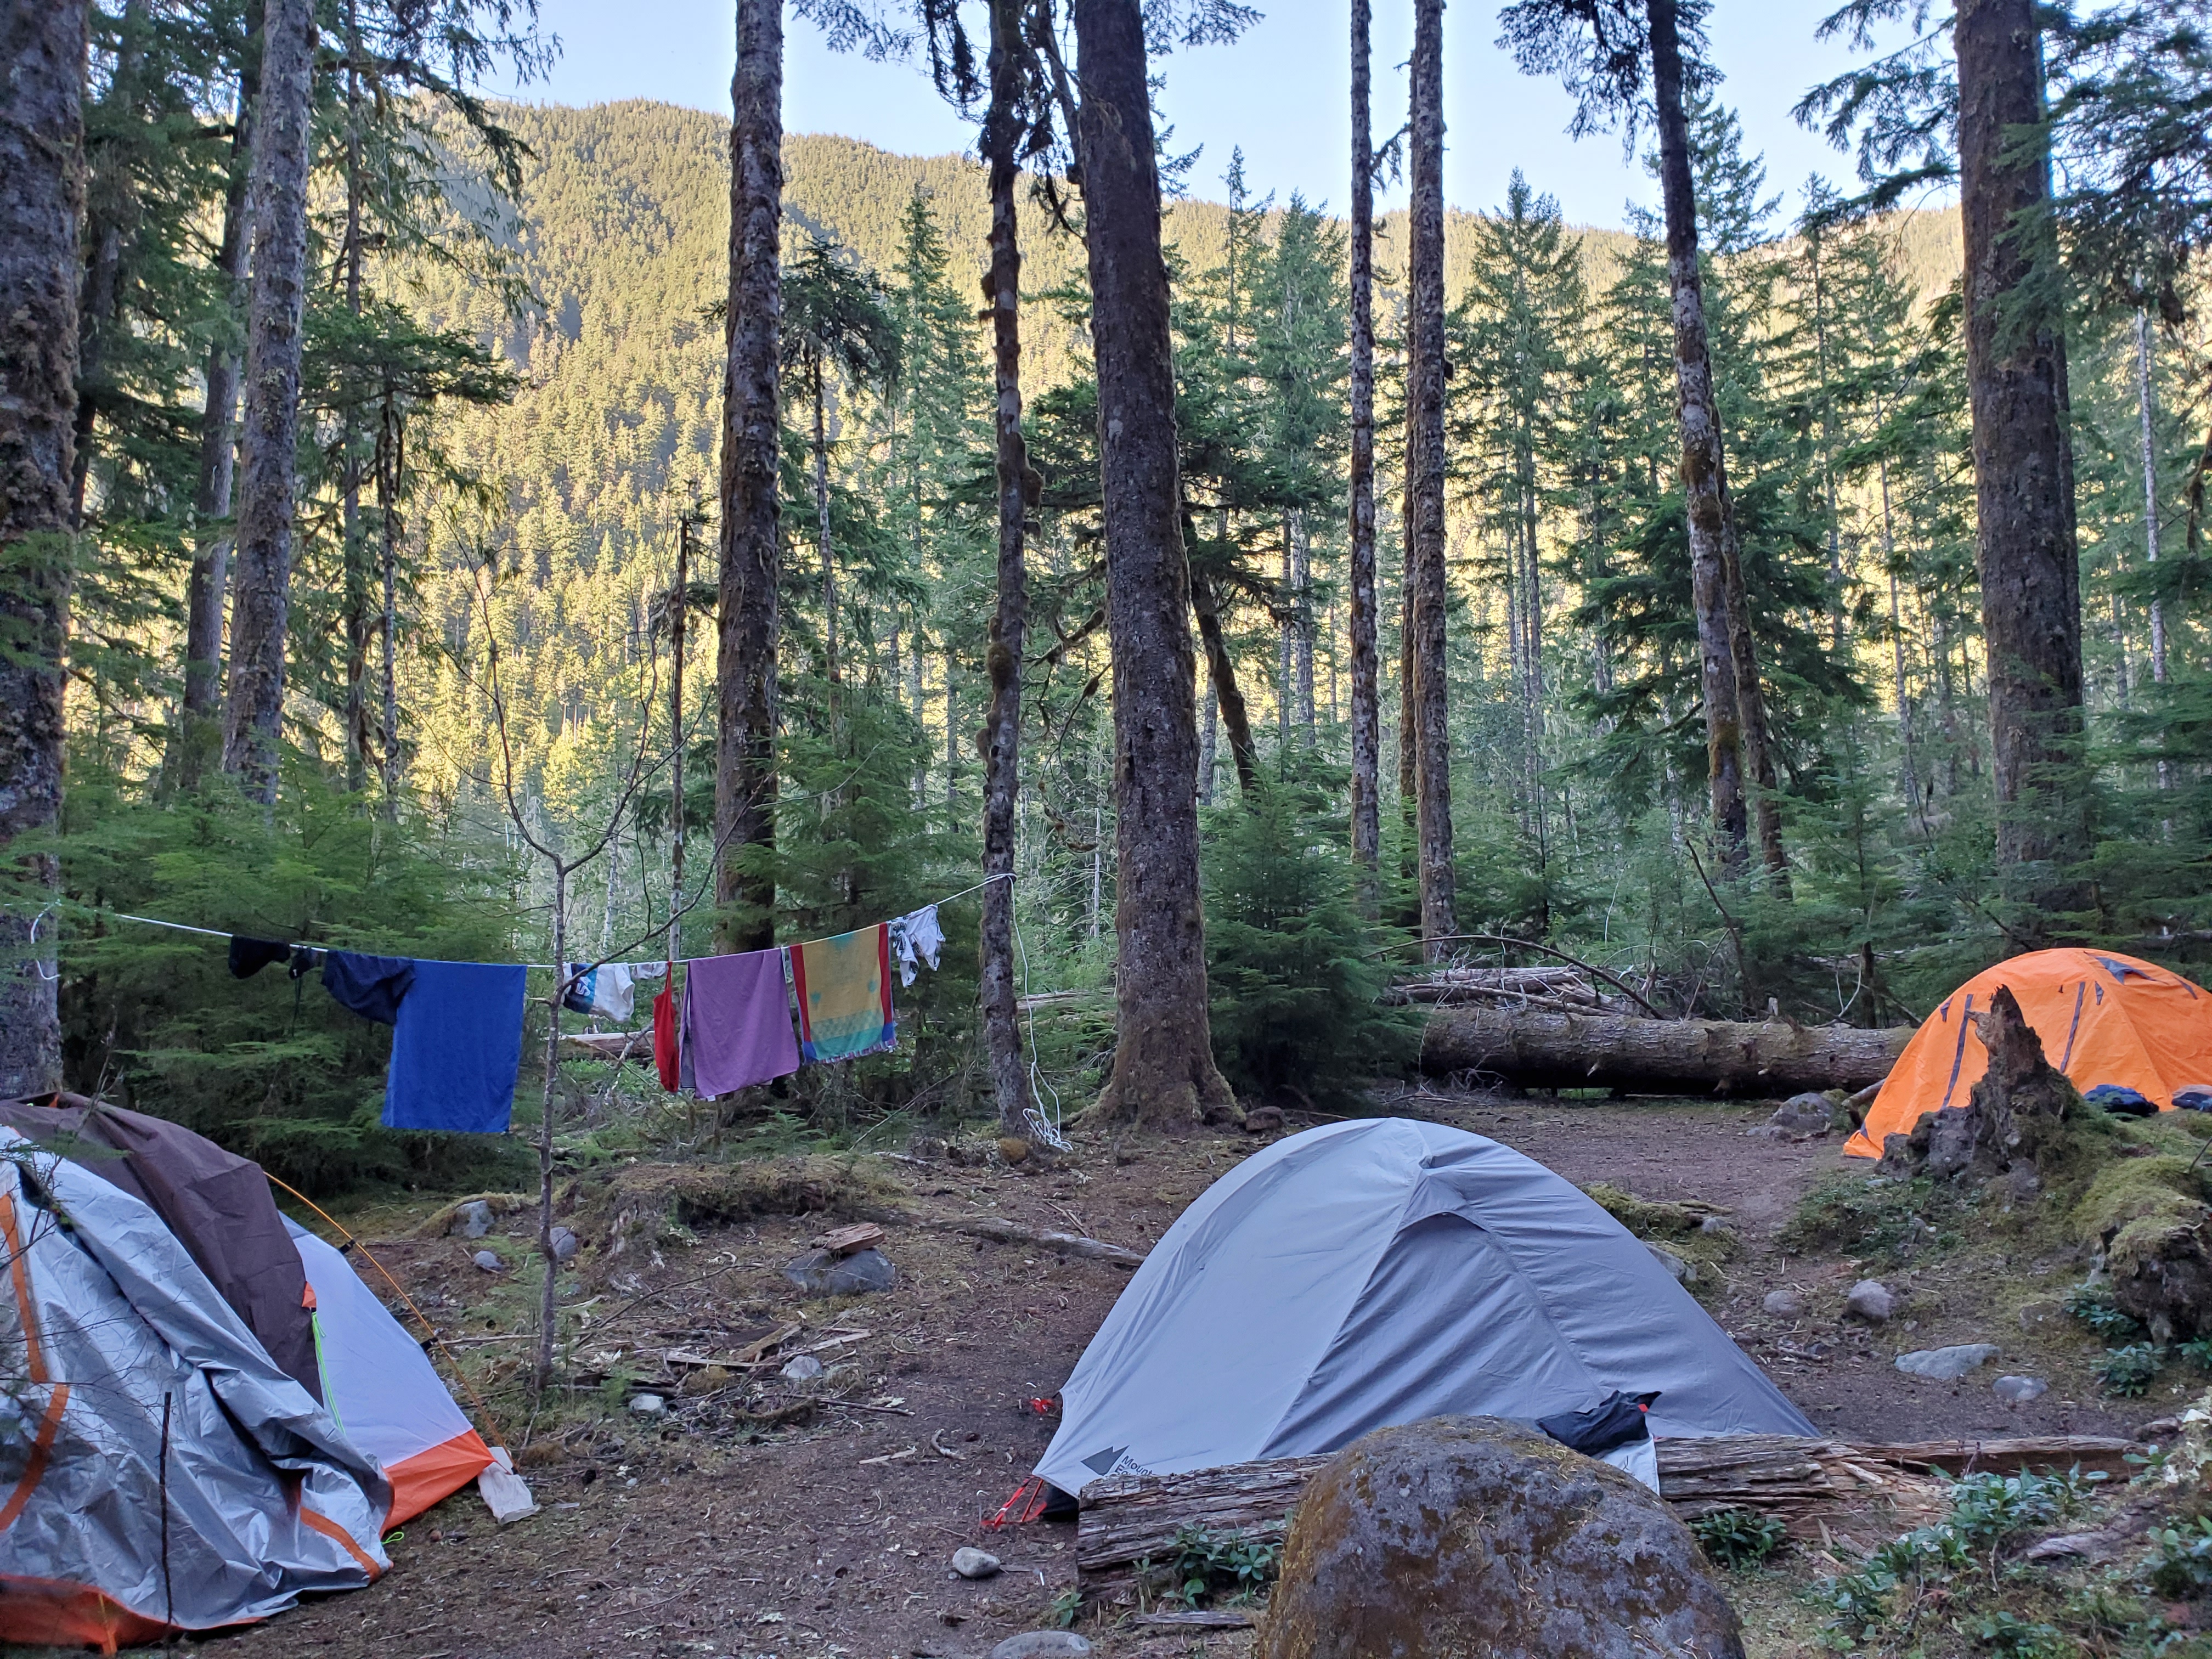
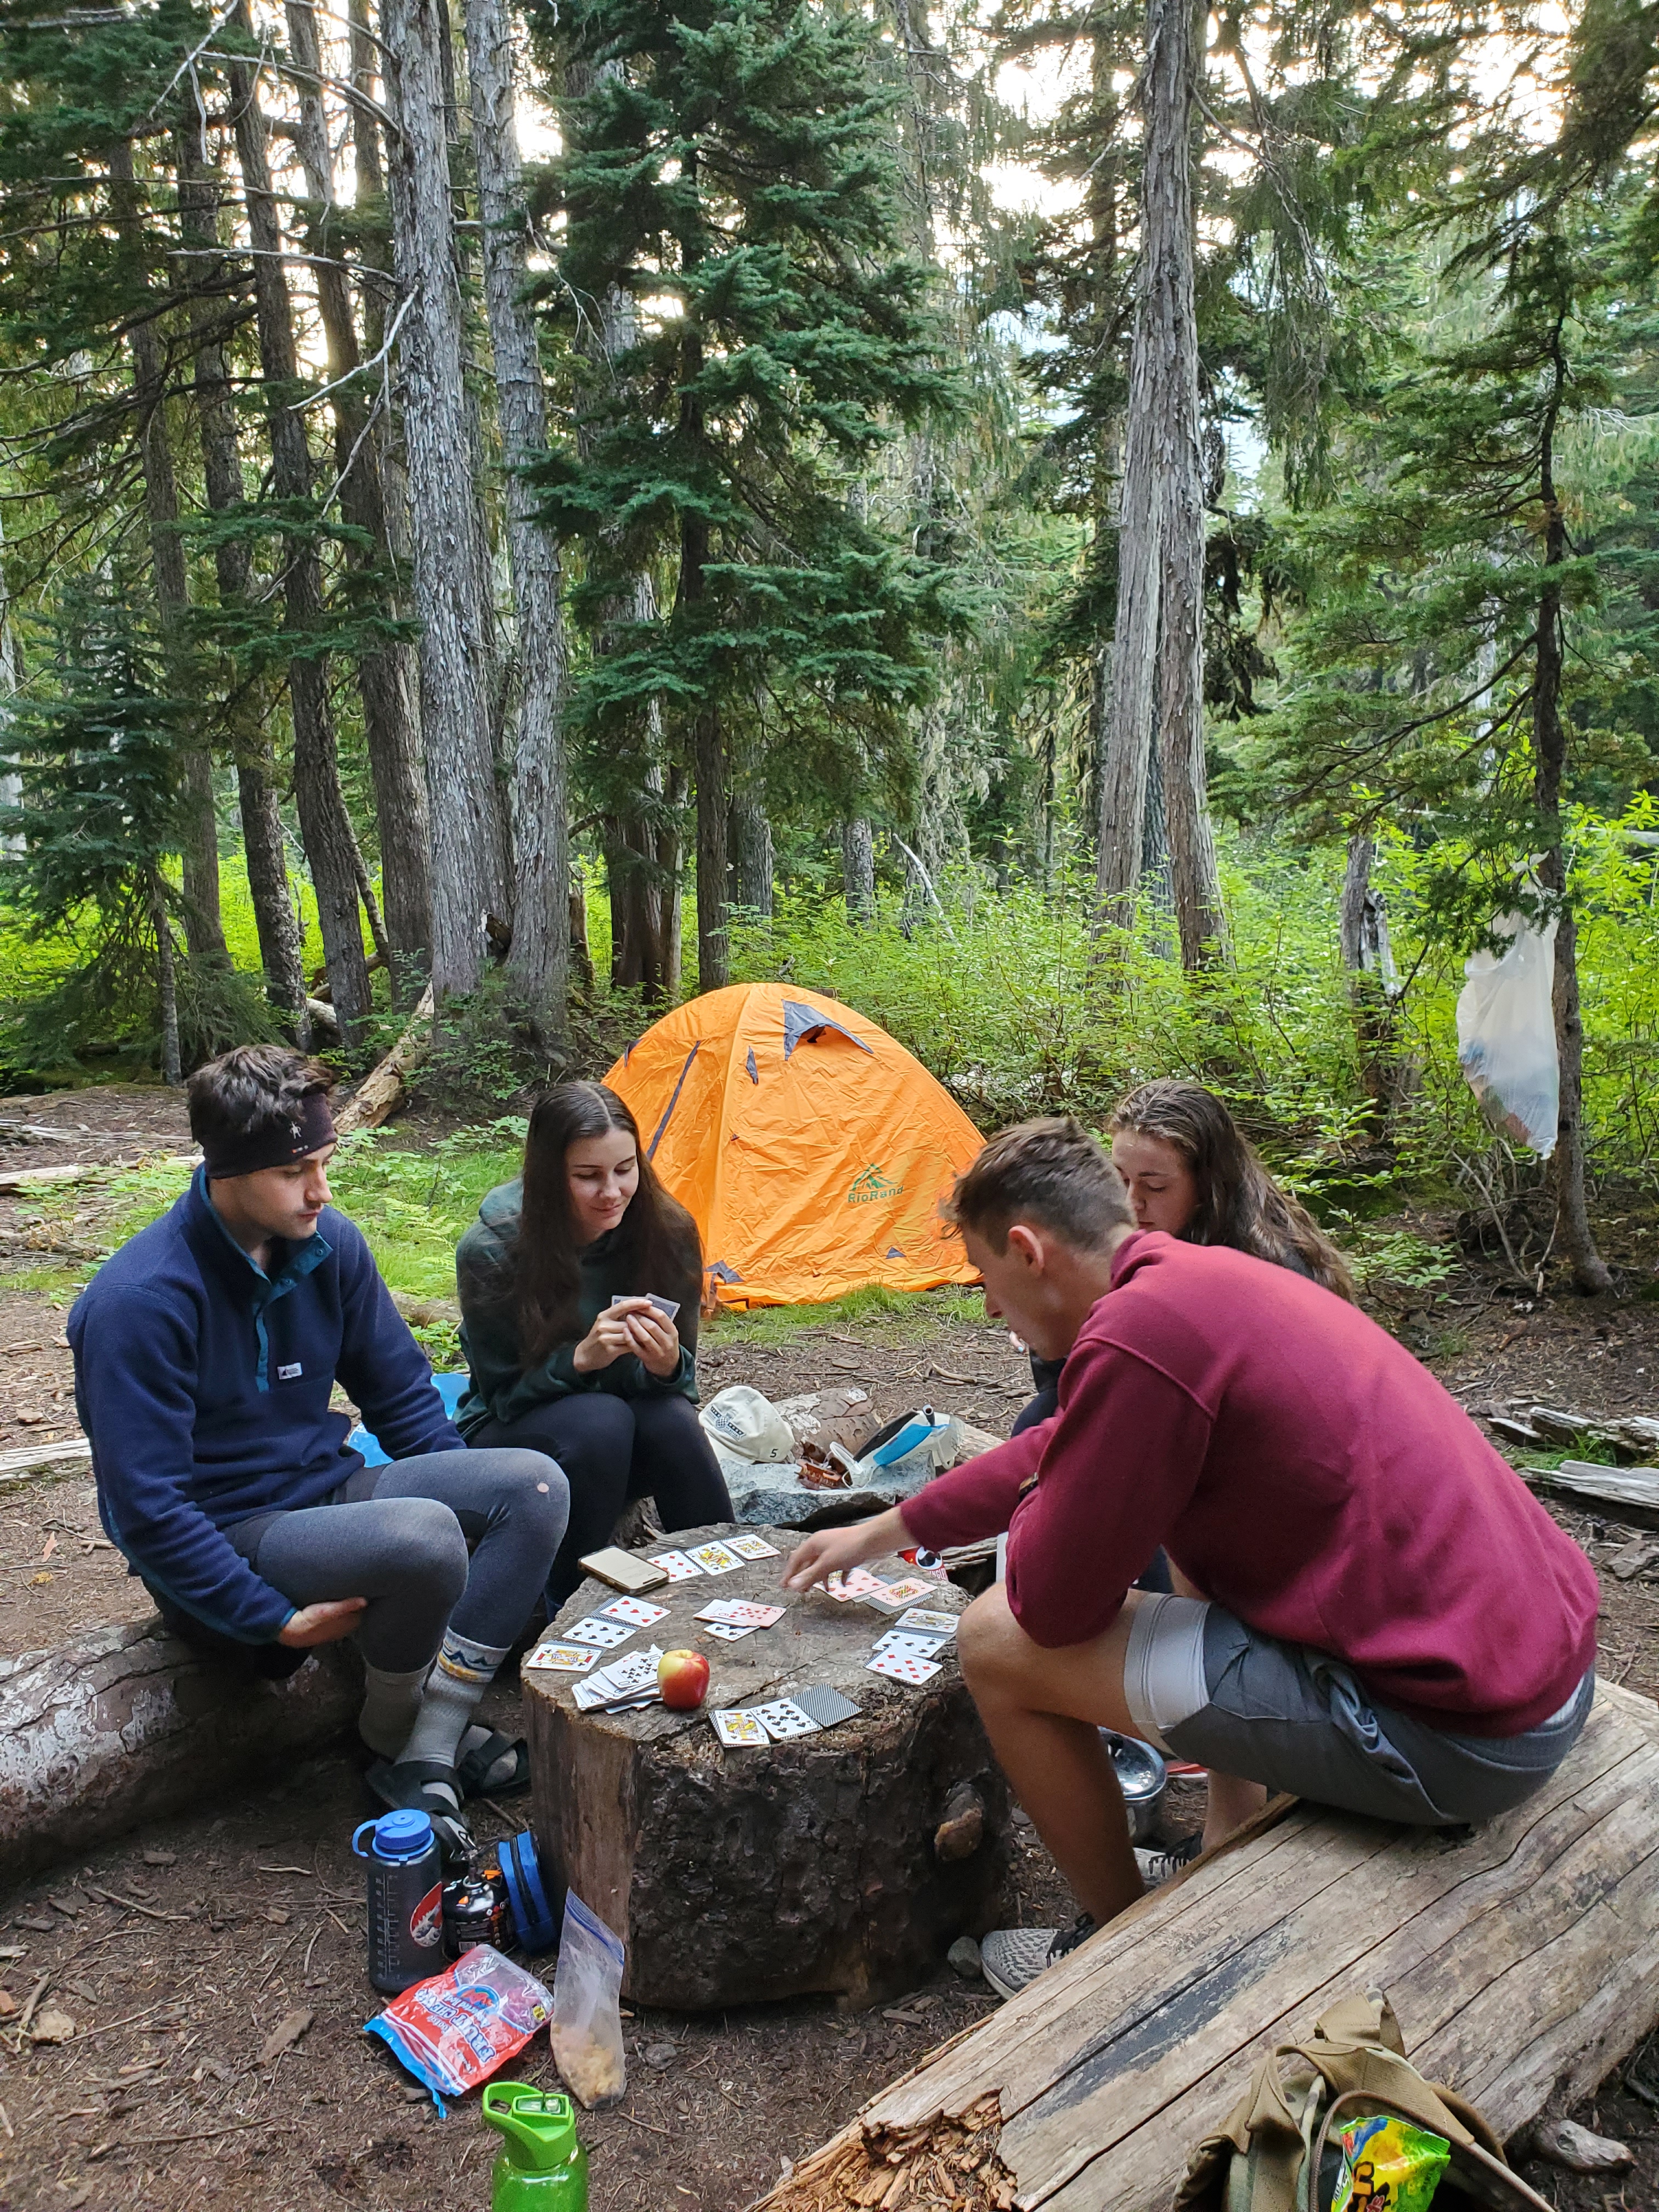
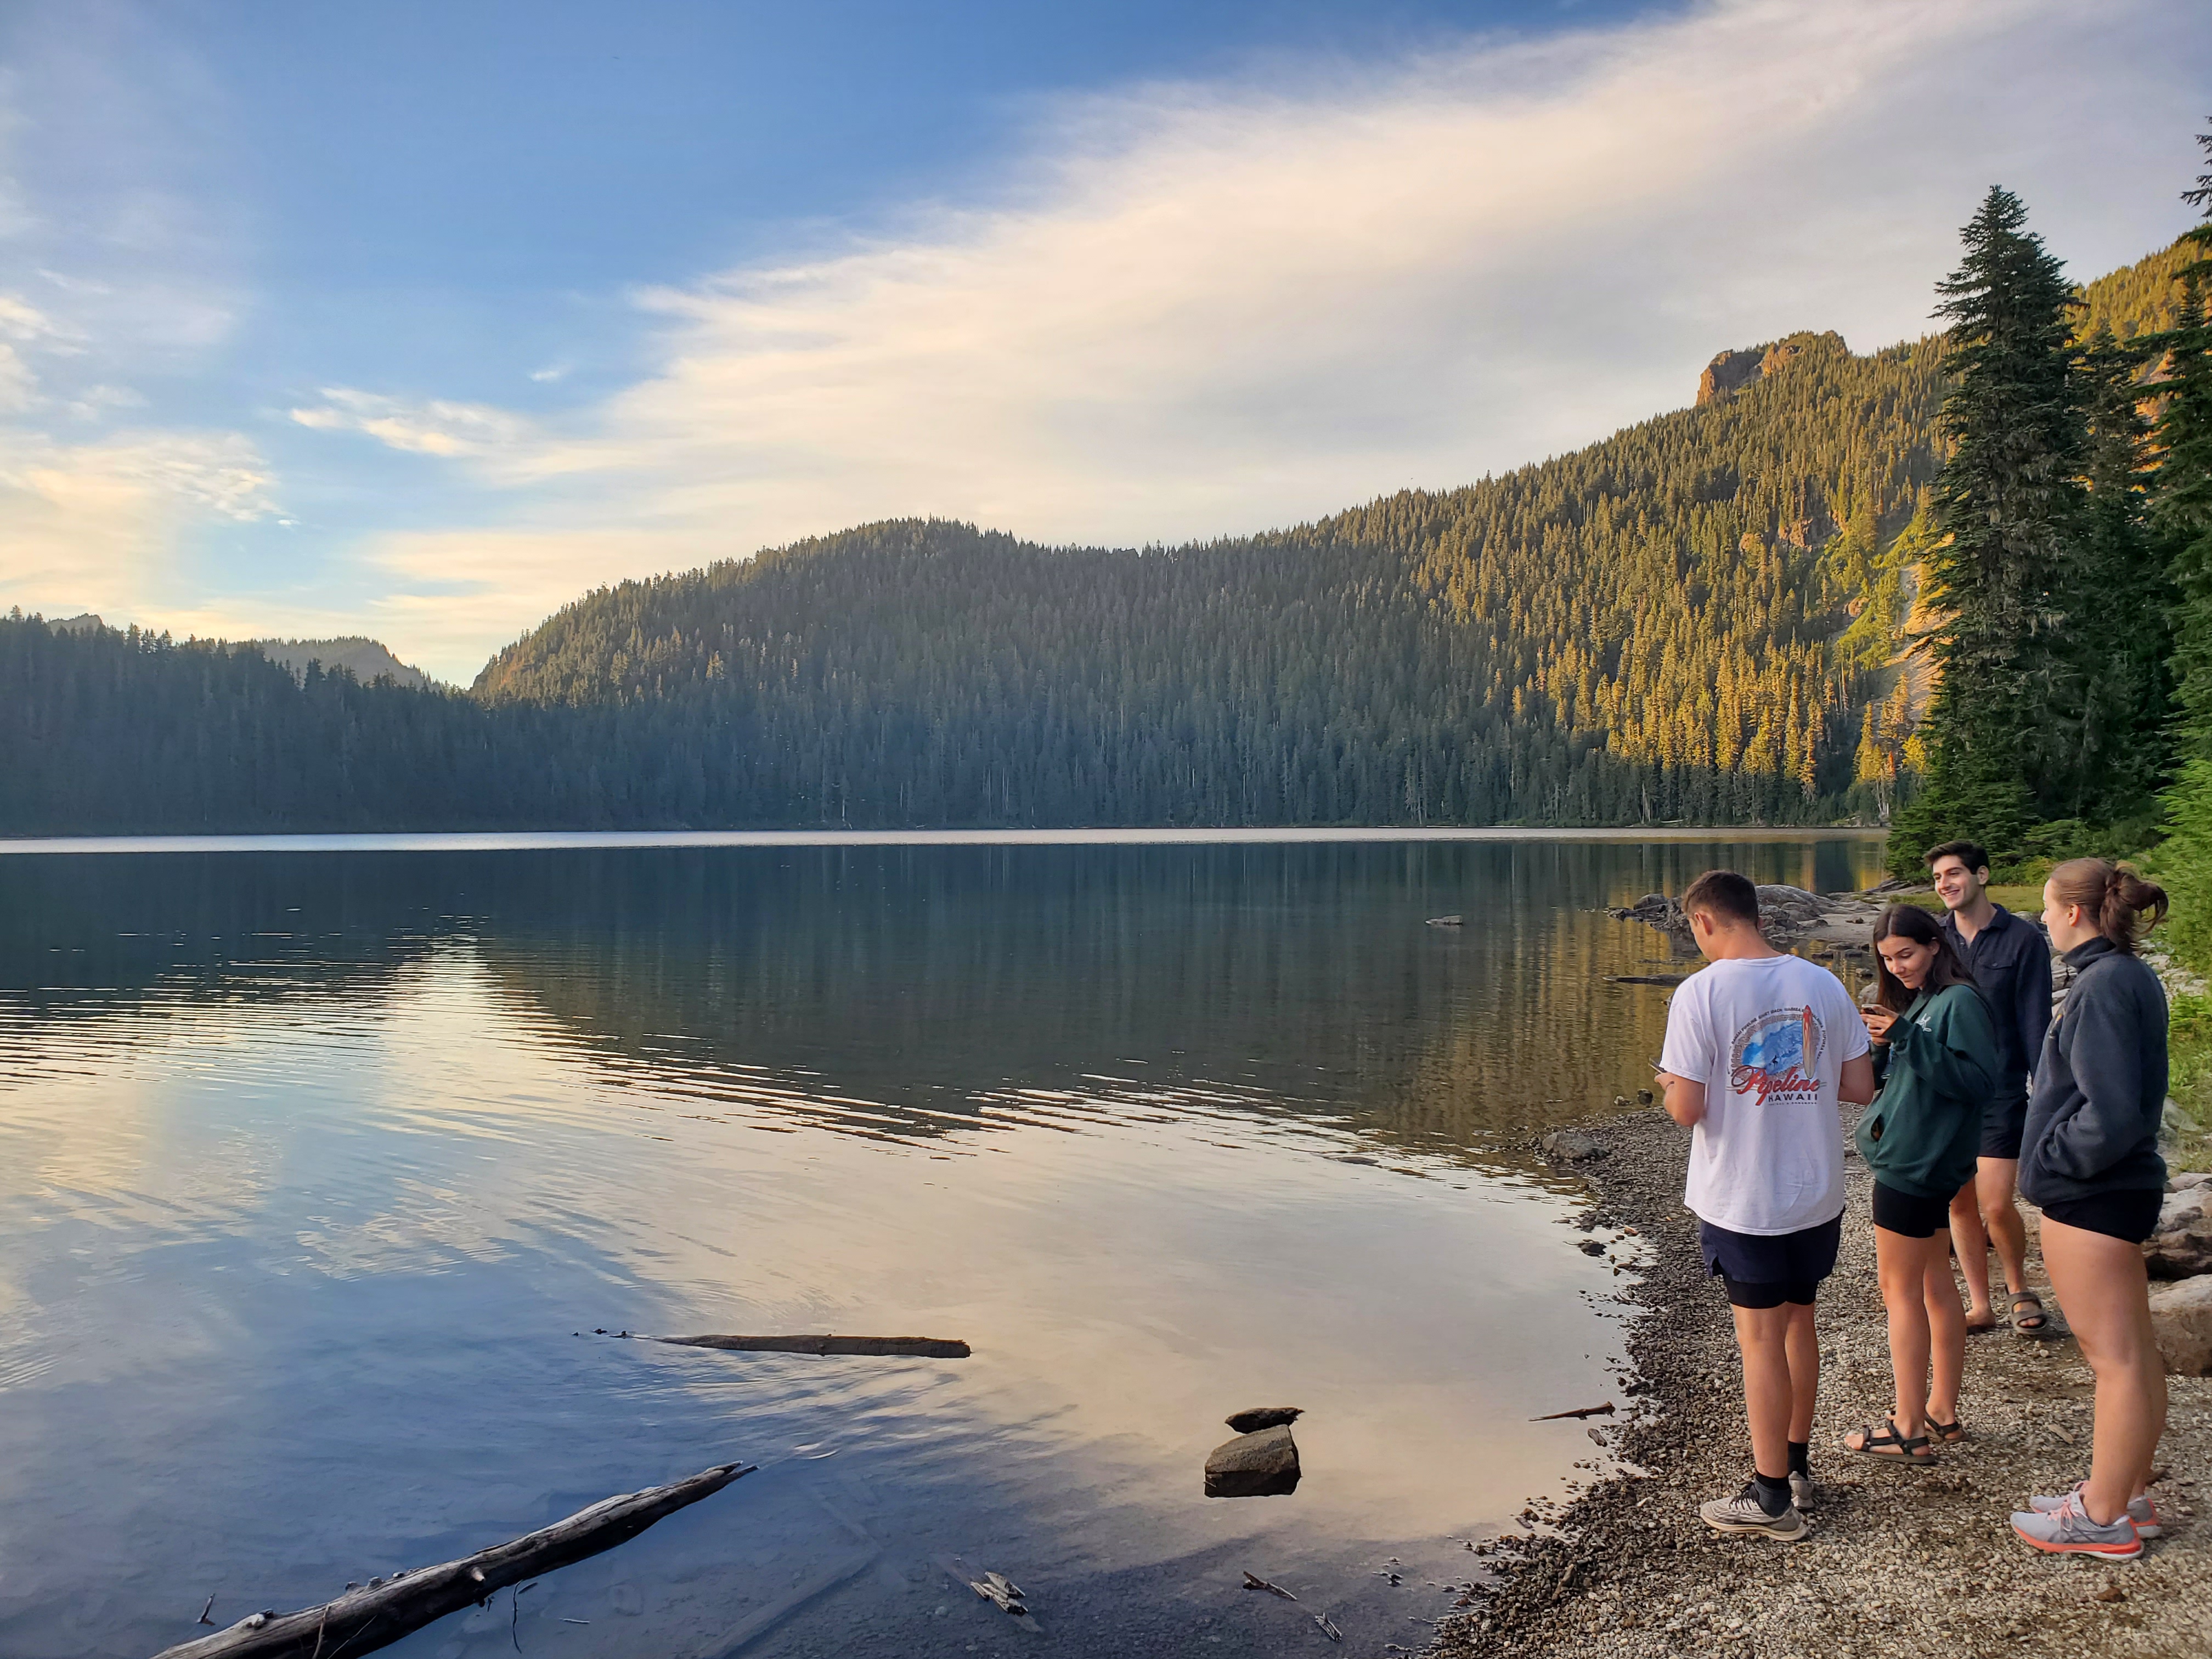
This campground is a great place to start if your trail begins near here. It’s a free camping spot, first-come, first-served. When we arrived around 7 p.m., the campsites were nearly full due to a running race, but we still managed to find a small, slightly gravelly spot for our tents. Even during busy periods, you can usually find a place to set up camp.
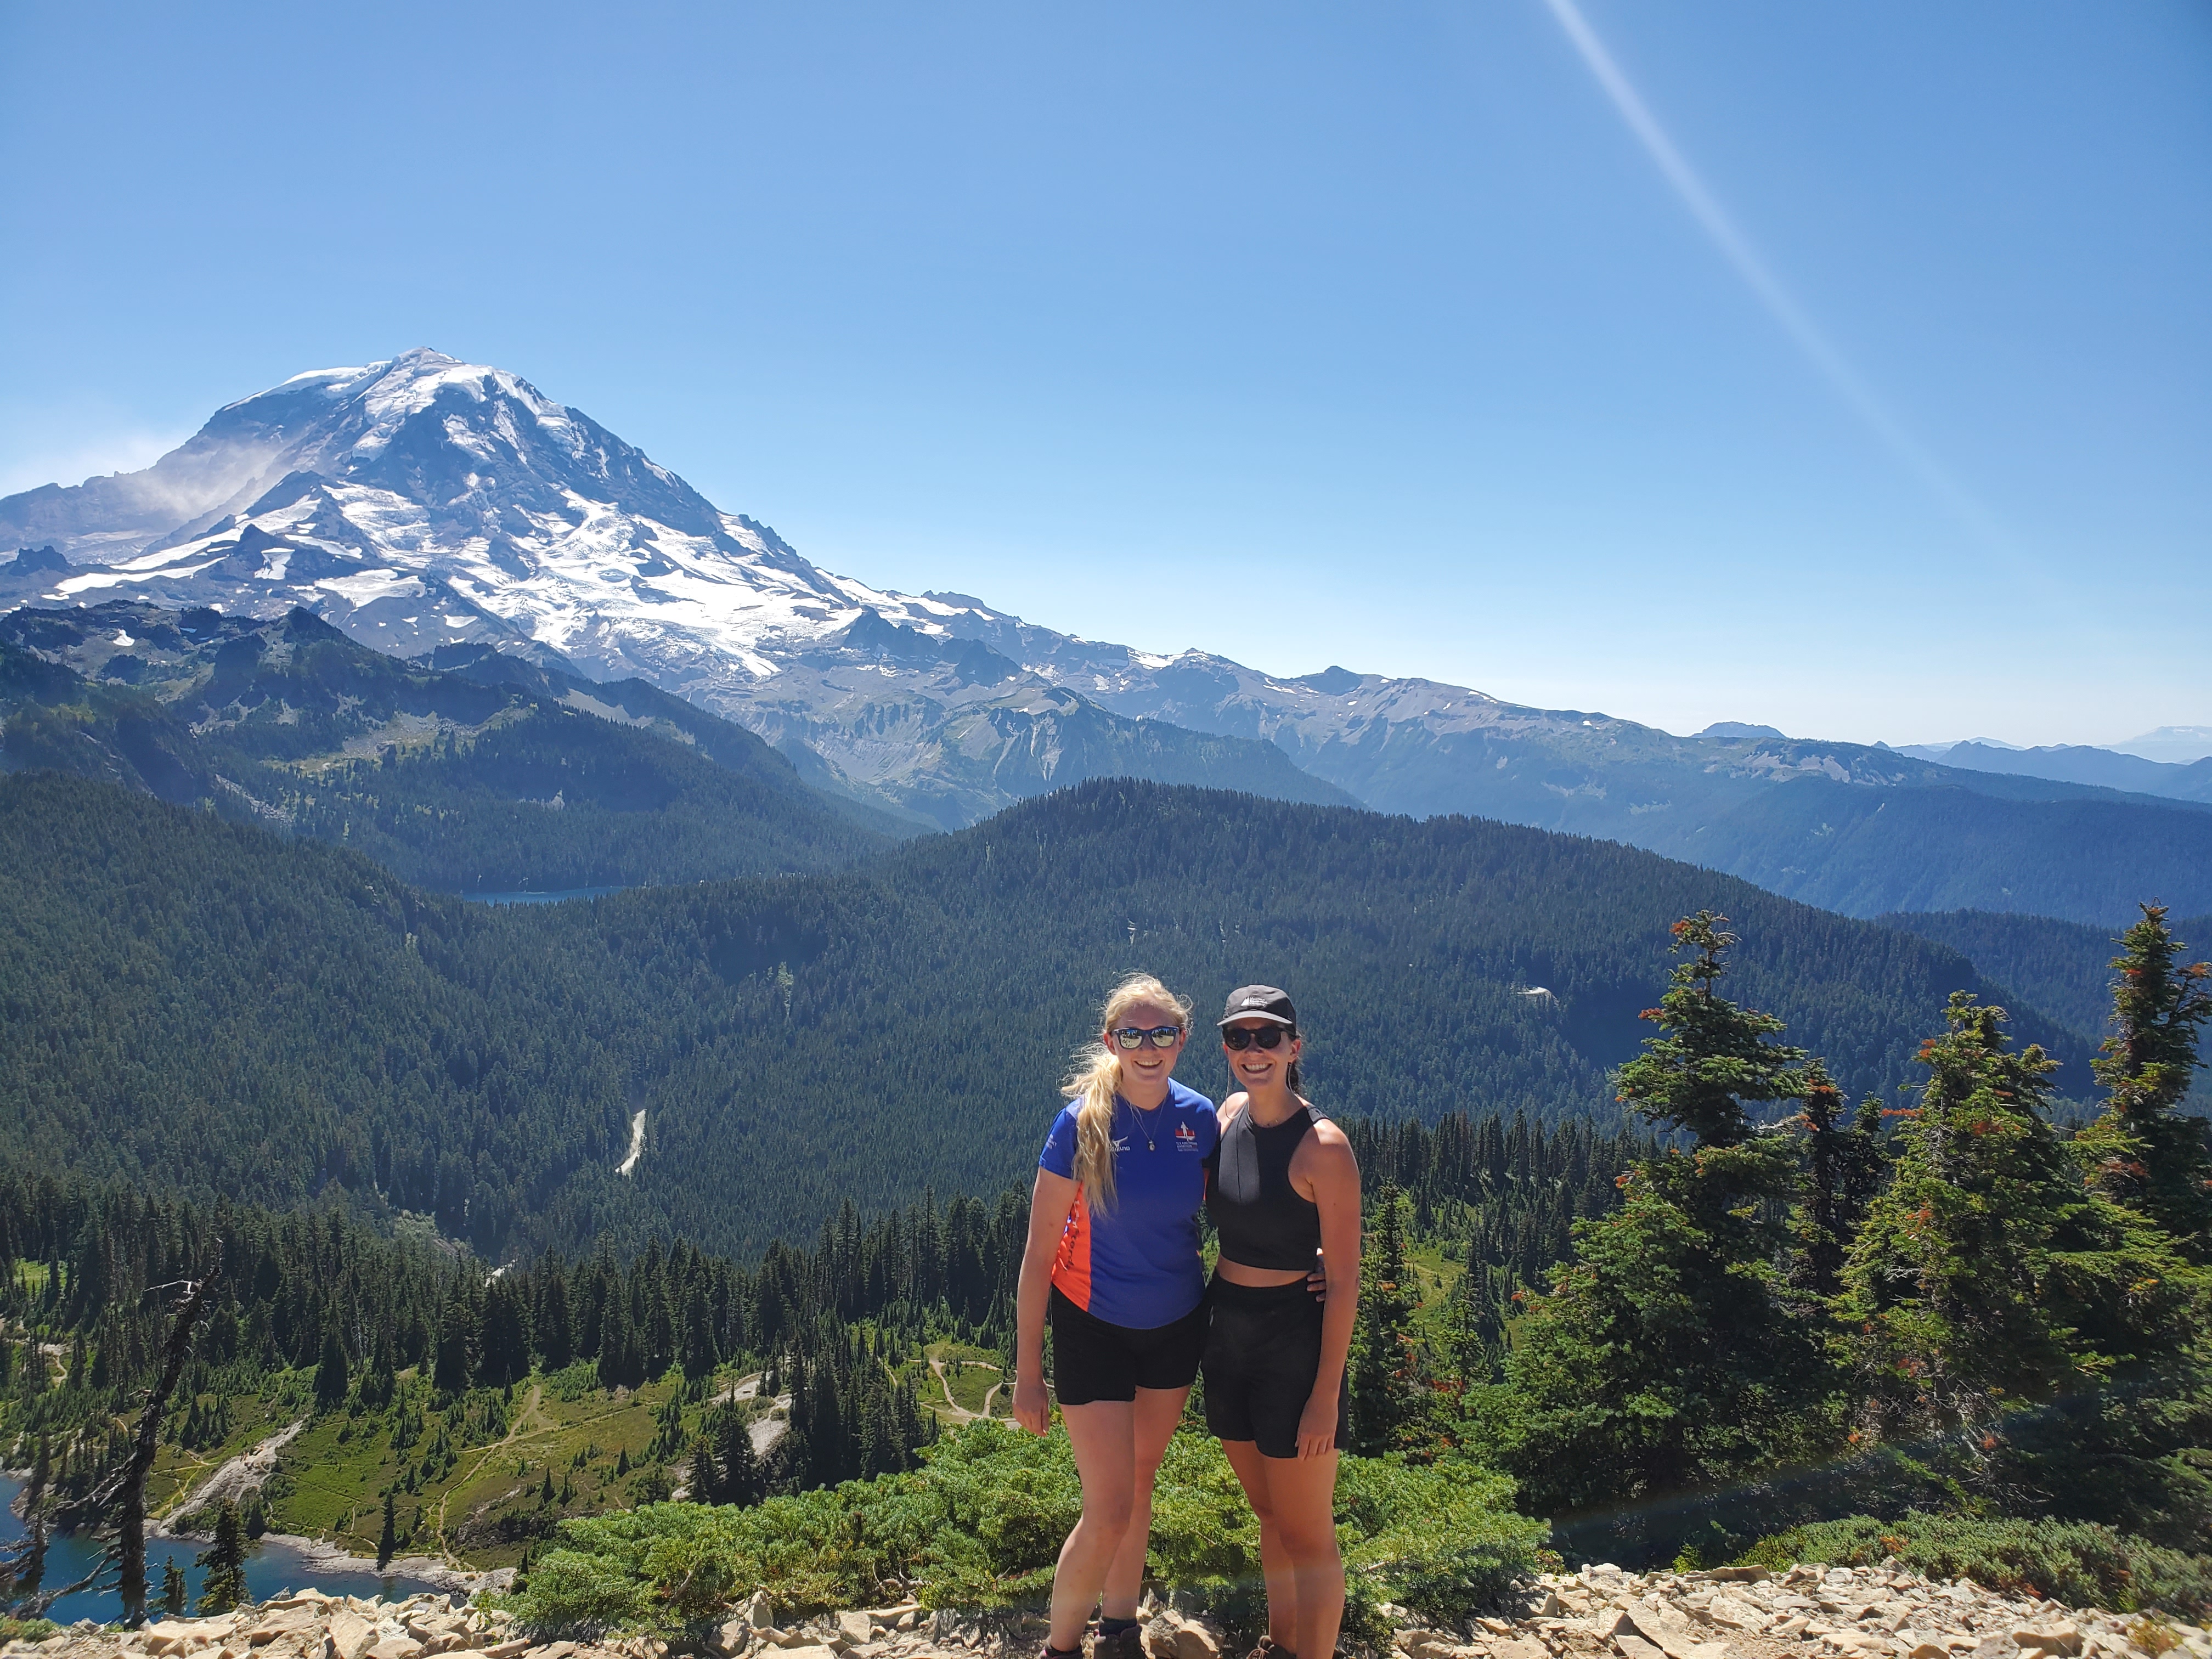
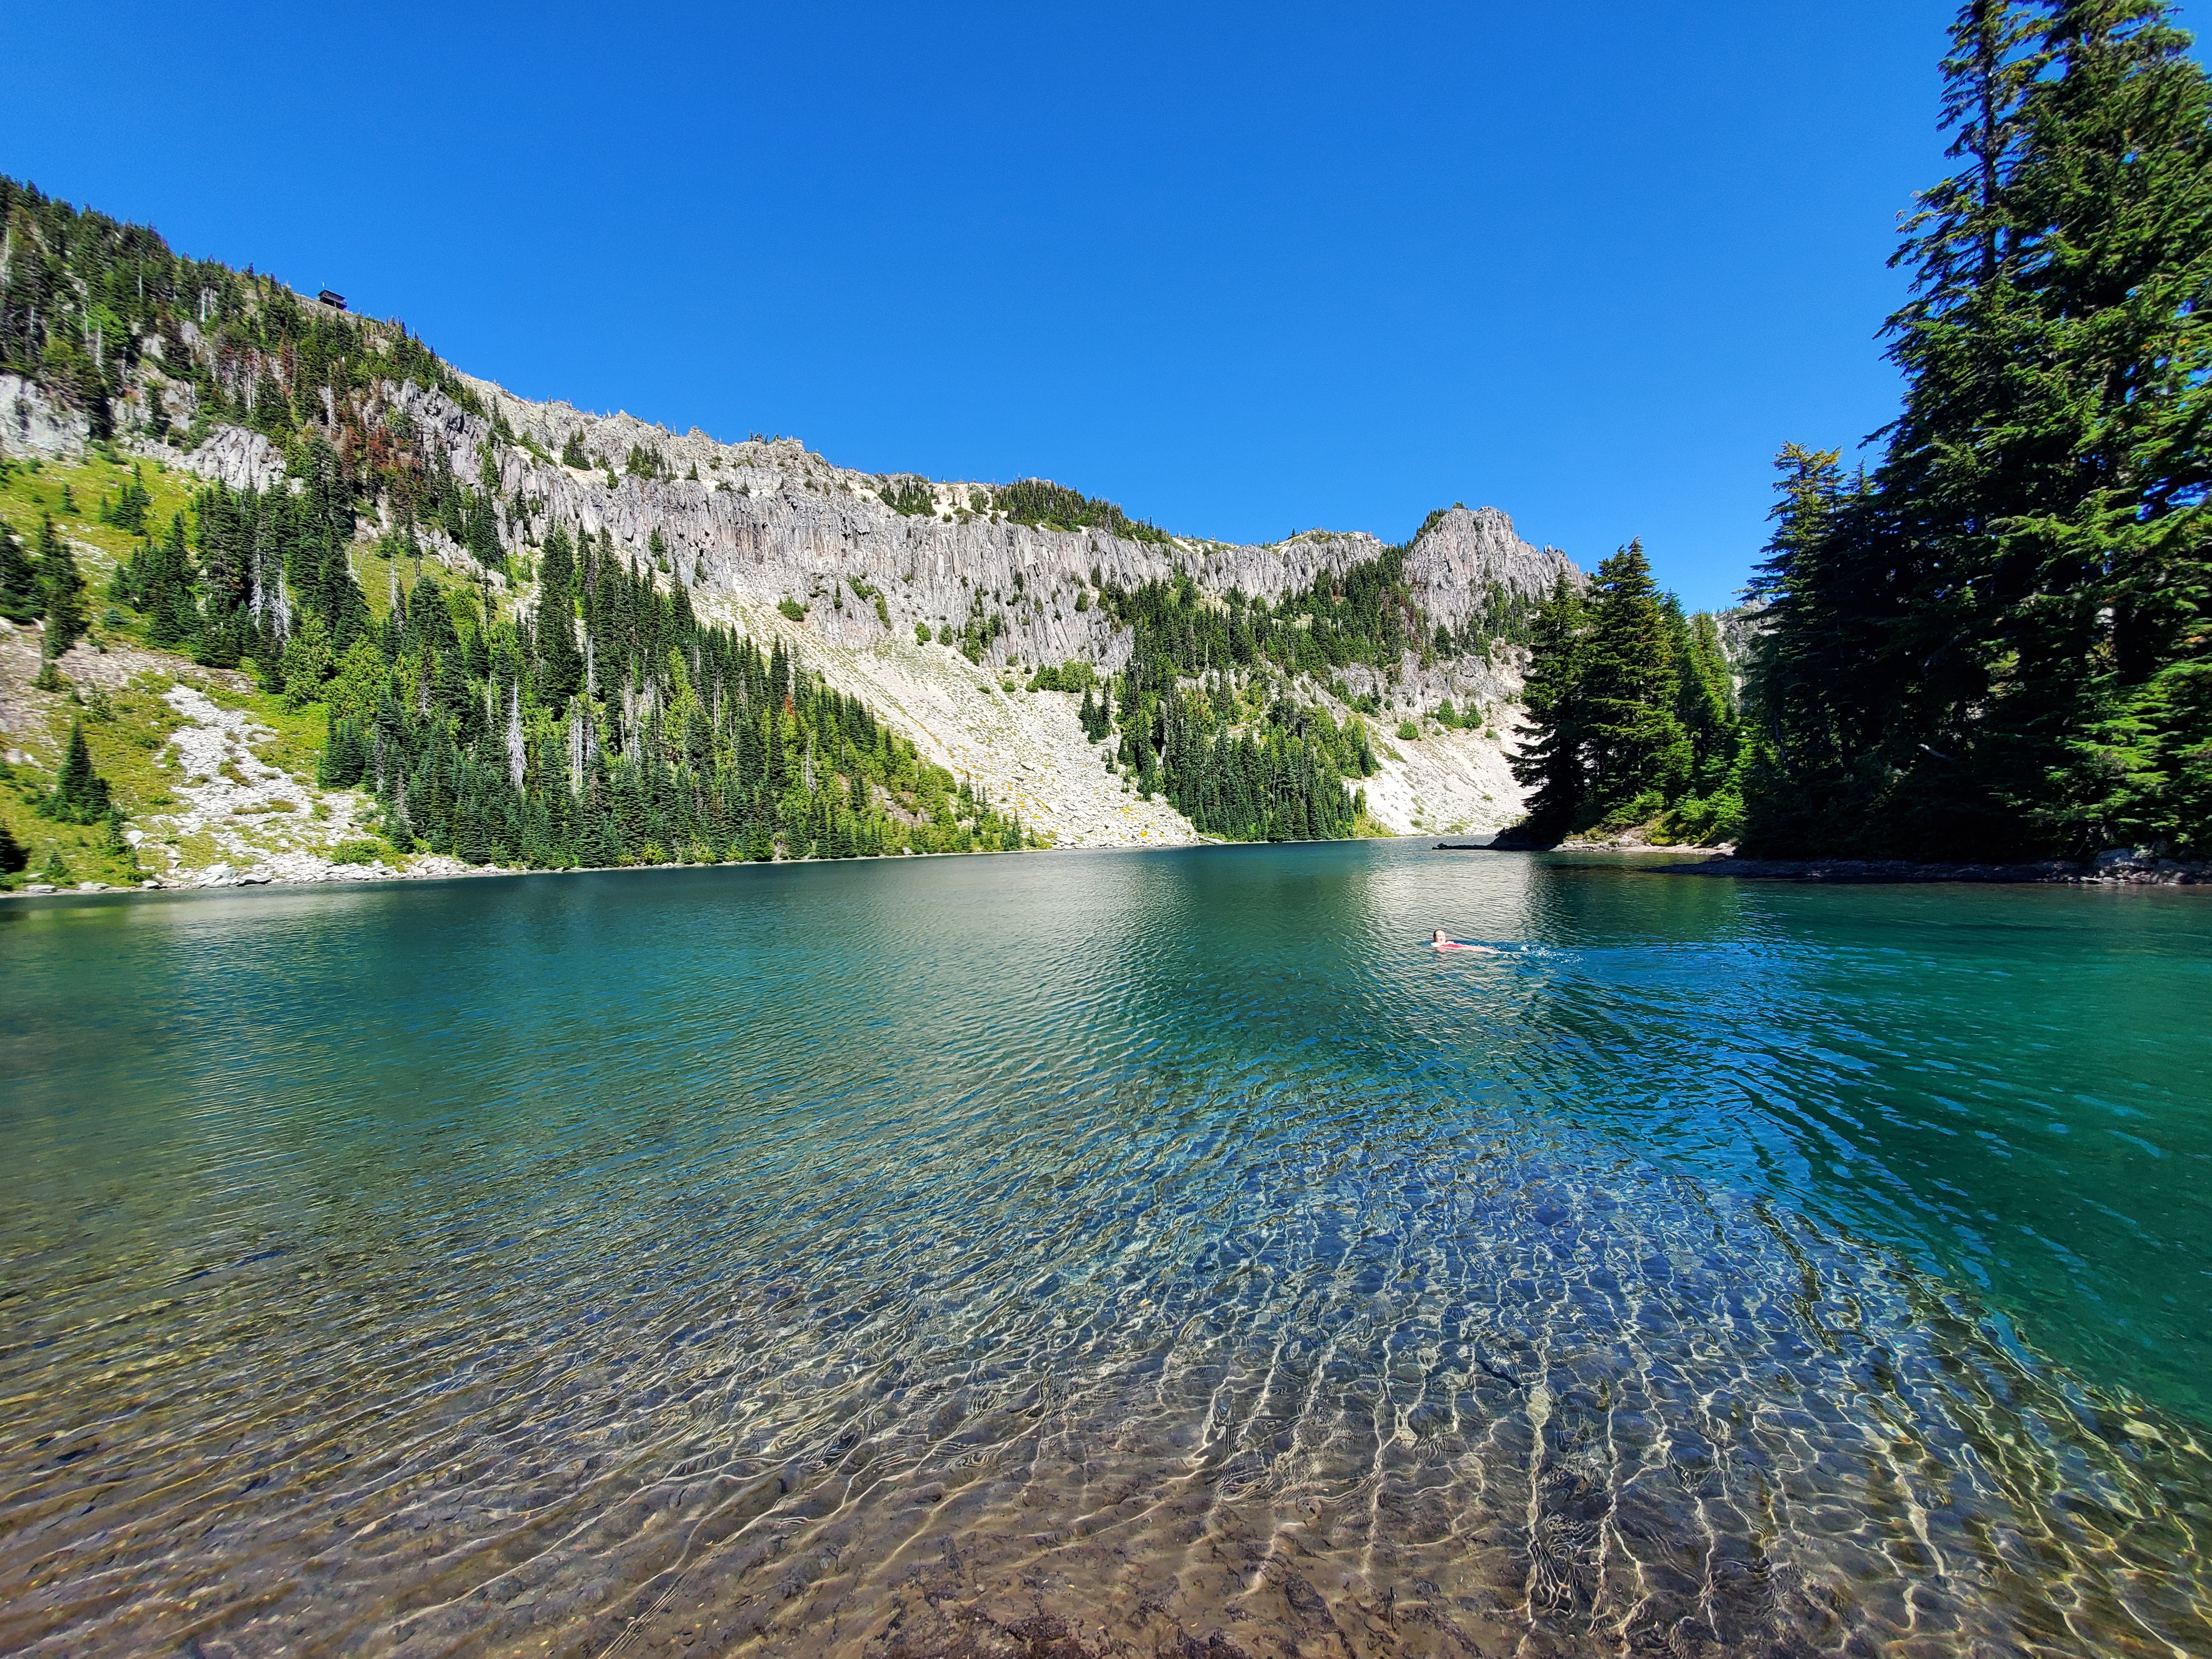
Tolmie Peak Fire Lookout
A must-do day hike from the Mowich Lake parking lot is to Tolmie Peak Fire Lookout. You’ll need to come off the Wonderland Trail to complete this part, but the panoramic views from the top are absolutely worth it. There’s a small hut at the peak, which is great for a picnic with breathtaking views of Mount Rainier.
Important Points of Note
Glacier View
We took a path leading to the foot of a glacier, but this sadly wasn’t worth the effort in late August, as the glacier had completely receded. It may be more impressive earlier in the summer. Otherwise, you’ll mostly see scree and dirt.
Wildlife Encounters
Along the trail, we encountered black bears, mostly minding their own business and snacking on berries. Always practice bear safety—make noise as you walk to alert them, and never get too close. Each campsite has bear caches or food hanging stations for added safety.
Water Availability & Safety Tips
One thing to keep in mind is that there’s plenty of water along the trail, so you don’t need to carry much. Just be sure to bring purification tablets or a water filter. The abundance of streams and water sources makes this a convenient trail for staying hydrated without hauling a heavy load of water.
Wildfire Safety
As mentioned earlier, always check for wildfire activity before your trip. Wildfires can disrupt plans and make certain areas hazardous. Even though we changed our plans to avoid the Northern Cascades, the smoke still reached Mount Rainier. Make sure you monitor wildfire conditions leading up to your hike, and always bring a camp stove since fire bans may be in place during wildfire season.
Accommodation Tips
You don’t have to camp to enjoy Mount Rainier National Park. There are plenty of wonderful accommodations in nearby towns. If you’re more of a day hiker, you can easily stay in lodges and cabins outside the park and enjoy several shorter trails. Either side of the trip we stayed at some wonderful lodges, I have linked below:
A beautiful pine lodge for bigger groups
Cute and cosy A-Frame Great for two people


Leave a comment